Electronic Design and Family Site
A Small Handheld Antenna Analyzer
My Field Day effort this year pointed out to me that some of my equipment is simply too big, heavy, or fragile to use for my portable "GO" kit. One of the items I've been including in the kit, a "Tenna-Dipper" from Four-State QRP group, designed by KD1JV, was simply a lot bigger than it needed to be. I built it into a chassis I had that was about 2.5" x 2.5" x 5". Thus, I set out to rebuild it in a much more compact and rugged form.
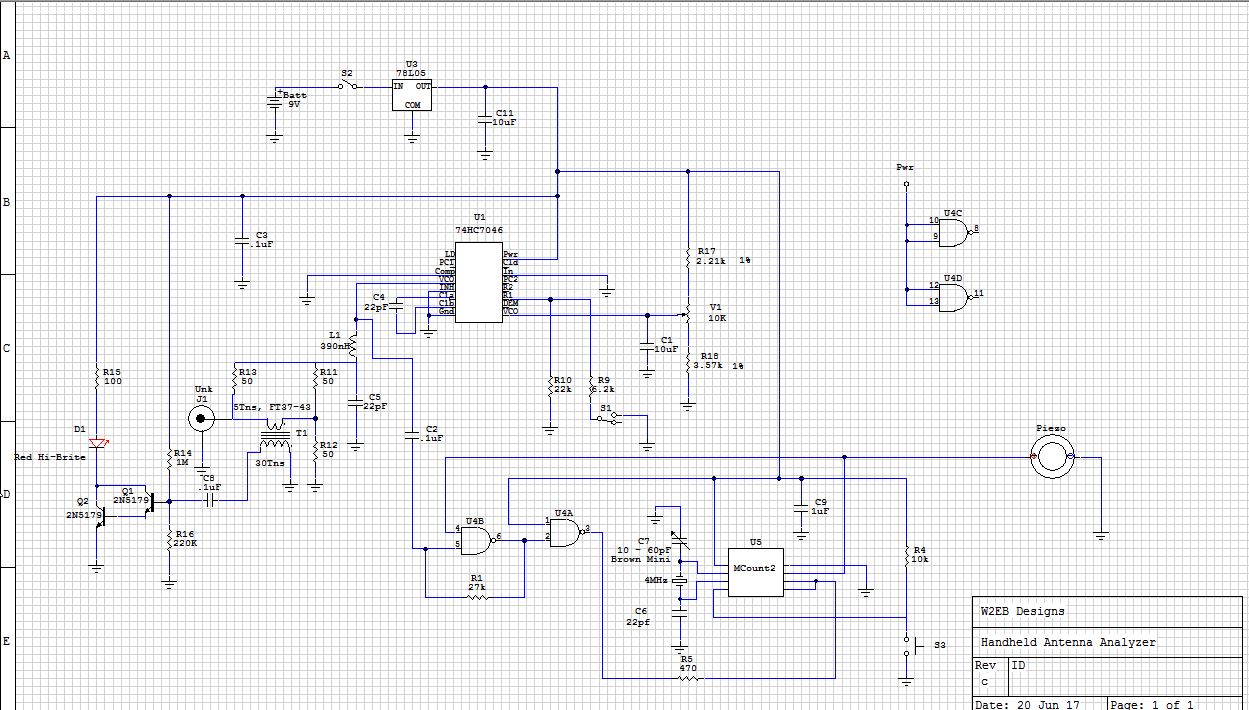
I copied the schematic of the Deluxe Tenna-Dipper expecting that it would be an upgraded version of the original Tenna-Dipper. Initially, I thought is was a downgrade until I found an error on the schematic. L1 is shown as a 1uH molded choke. At that value, I couldn't get the LED to illuminate past 22MHz. I changed it to a 390nH and now the LED shines brightly over 30MHz.
Since the frequency annunciator of the Tenna-Dipper II uses a custom-programmed IC and 7-Digit LED displays, I chose to use a Jackson Harbor Press MCount there instead. The MCount only outputs its frequency in CW; a savings in power, size, and parts count
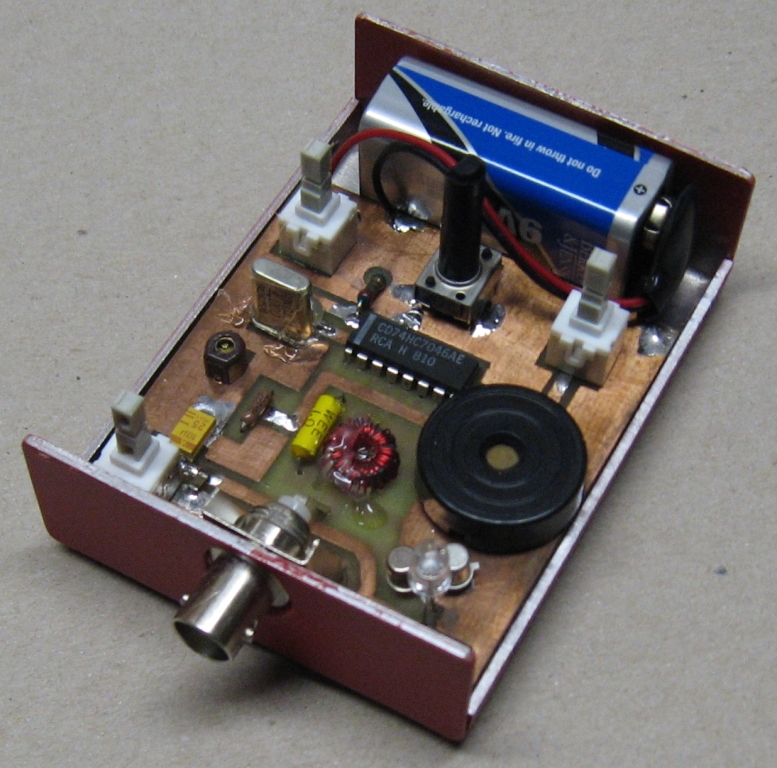
I tried to ruggedize the device by not wiring anything. I wanted every device, I/O, and control attached to the circuit board. I came darned close; the only thing on wires is the battery clip. I would have had to waste a lot of chassis-space putting the battery clips directly on the board itself.
I hot-glued the transformer and crystal to the PCB to aid their mechanical stability; the transformer is held by some fairly thin wires, and the crystal had to sit off the board to prevent shorting a trace running under it.
The final unit came in at 2.5" x 3.5" x 1.1". Nearly 1/4 of that size is the battery: the PCB is 2.5" x 2.75".
I used three unique construction techniques; a couple I've used a few times over the years, and one brand new to me:
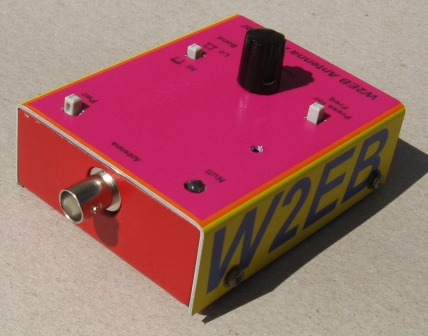
-Plasti-Dip. Plasti-dip is a rubberized goop that is designed to cover tool handles for improved grip. I use it to "paint" aluminum! As the finish on aluminum chassis, it adheres: something that few ordinary paints can claim, and it provides an actual rubbery-protective coating that cushions shocks to the piece itself.
-I used my "sticker" as a faceplate. I made the sticker using the technique shown here, then stuck it on the substrate face of the chassis.
-Brass standoffs. Rather than run hardware through a board using hollow standoffs and nuts, I use threaded brass standoffs and solder them to the bottom of the PCB. This saves the weight of longer screws and nuts.
The Schematic
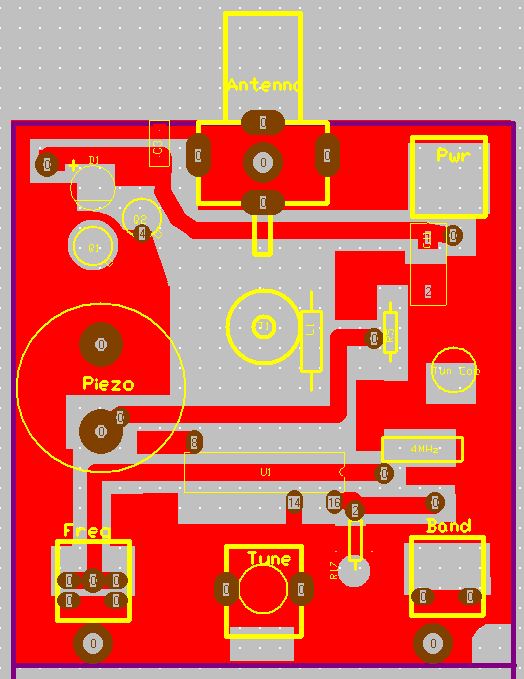
PCB Layouts
Bottom Layer
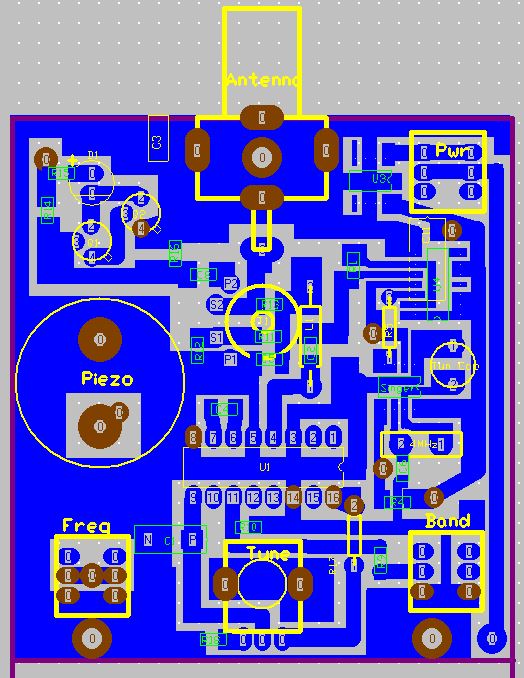
Top Layer