Electronic Design and Family Site
My Amateur Radio Operating Position
I was lucky enough to attend Contest University at the ARRL Centennial convention in Hartford, Ct. While there, they mentioned several best practices that I wasn't following in my contesting endeavors. I decided then and there that I could do better!
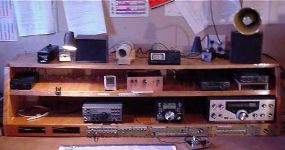
First of all, I wasn't using enough computer control: upon arrival at the convention floor, I ordered the KIO2, a serial interface for my rig. A few days after I got home, I found the KIO2 kit waiting in the mailbox. It took about 5 weekdays to build (at 30 minutes per day). When done, I tried it on an old XP computer. With the new RS-232 interface, it worked easily and had no increase in noise. This was my incentive to make a new operating position that could easily include a monitor and keyboard. My Current (obsolete) position was a long shelf built into the wall with no space for a computer of any kind.
On a Saturday I dismantled the old operating console. It took nearly 6 hours, but left the room utterly empty. Over the next several weeks, I planned to make a corner desk with space for all of my rigs, accessories, and test equipment; but first, I had to re-do the drywall and re-paint. It was very dark and dank in that shed, not conducive to winning!!
15 Aug 14 - I spent the week spackling, sanding, and cleaning the walls and ceiling of most of my radio shack. When the weekend finally arrived, I was ready to paint. I went all white to brighten the room and reduce my need for bright lighting. I want to eventually run all solar-powered LED lights, and need to keep efficiency in mind.
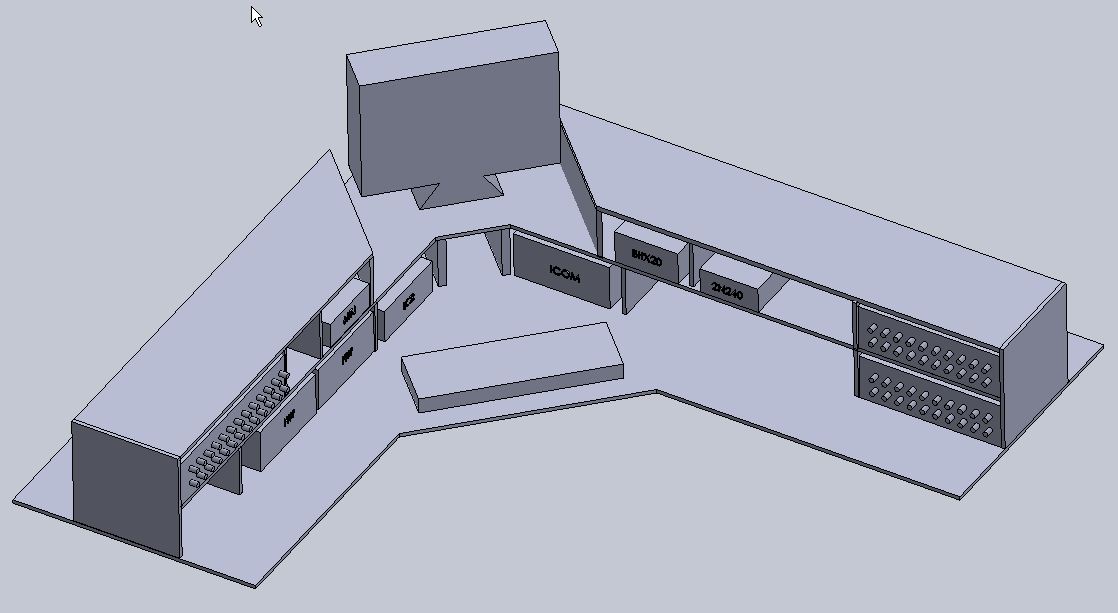
I'm lucky enough to use an expensive 3D modelling program at work, so I drew up plans for the desk I was making. I even made drawings for each piece so I didn't have to customize as I cut and routed each piece; I only had to make what was in the drawing.
21 Aug 14 - The shack is painted a sharp white. It's very bright in there now. I've started rebuilding the space before I put the desk in. I've re-hung all awards and certificates, and put the built-in speakers back in the wall. This weekend, I plan to cut the 1/4" plywood top for the desk, move it and the desk frame into the shack, mount the top in there, and put the first of several coats of spar varnish on. When that's done, I can start building the panels to hold the connectors and start wiring the desk itself.
28 Aug 14 - The top is on the desk, and I gave it 4 coats of Spar Varnish. It's clean, shiny, and ultimately very usable.
But:
Take a look at my page called "The great lightning strike of 2014". That is the latest delay in my latest project. It seems like someone doesn't want me to finish the Operating position in a timely manner! Once I clean up the resulting mess, work will resume on this project.
30 Aug 14 - I want to construct connector panels behind the rigs and equipment. On the old operating position, these panels were at the back and embedded in the shelves that supported the equipment. The old ones were made of fiberglass panels; actually FR-4 with the copper stripped off. I can either reuse the old panels, make new out of more fiberglass, or use 1/4" plywood. I'm having a hard time deciding which to use.
2 Sep 14 - Change of plans. The 1/4" plywood, even routed to 1/2 its original thickness was still too thick for my BNC connectors. The 4 screws used to mount them protruded so far that I couldn't fully seat a connector on them. Thus, I'm forced to use FR-4.
I spent about an hour stripping the copper off 2 pieces of copper-clad that were about 48" by 5". Once done, I drew all connectors in pencil, then started drilling. In total, I drilled and filed for about 6 hours. Then I made 1 x 2 wooden frames to mount these panels and attached the frames to the rear of the desk. Next I will place all of the appropriate connectors on these panels and wire it all together through the patch panels.
14 Sep 14 - The shelves on the desktop are now complete. Before I permanently mount them though, I want to add built-in LED lighting. I have a couple dozen LEDs that I will mount in strips on the underside of the shelves, and 6 gooseneck LEDs that I will mount to the upper shelves.
I also ordered a remote USB Wi-Fi adapter to tie the shack to the internet. That, combined with an extender cable for the monitor, brings my shack up to the 20th century!!
Now I have to wire all of the connectors on the back panels and this project will be done.
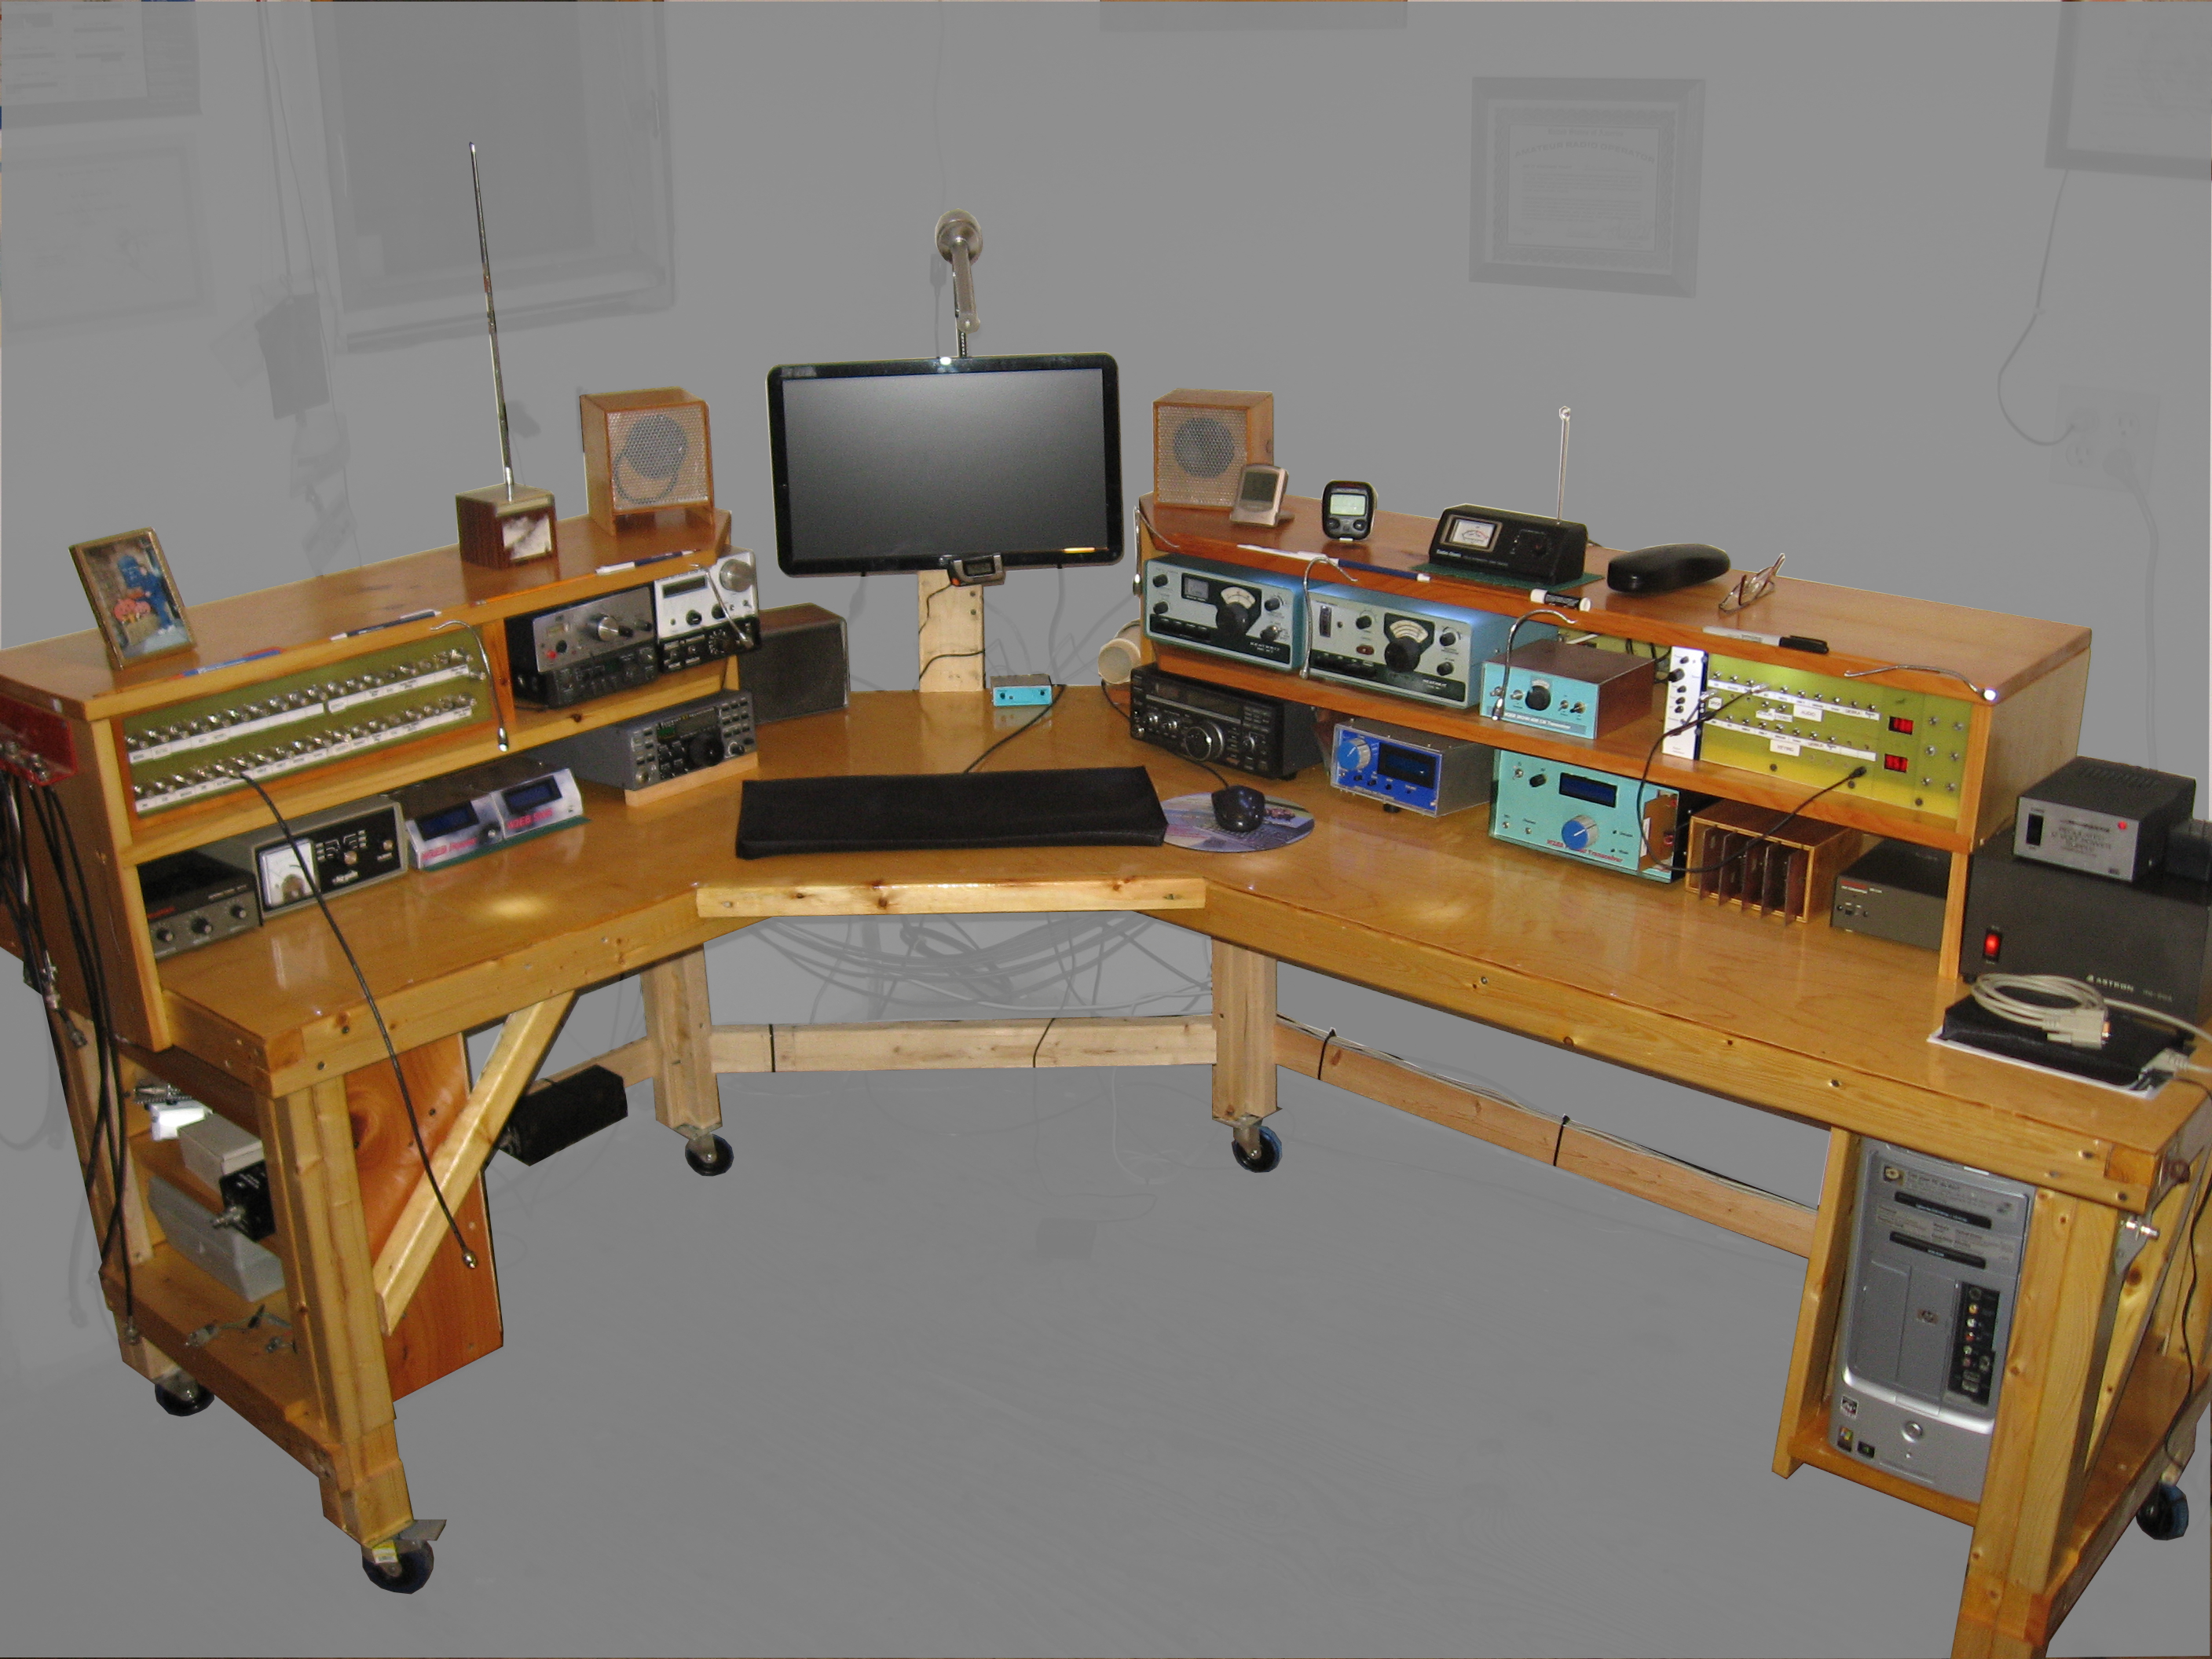
6 Oct 14- I Can finally call this done. It took nearly 9 weeks, with a detour to upgrade my station grounding and lightning protection. Now, if I need to add/remove a rig, all of the connections are easily accessible on the rear. The entire desk is on wheels so I can roll it out to add or remove cables. If I need to add a connection I currently don't support, I simply cut or drill the hole on the rear panels and add the connector. No more dismantling to access the connections. Plus, I can finally have a station computer rather than a netbook on the desktop!
The Bill Lazure, W2EB Operating Station is Live!!
The final Result!
(The New Reality)