Electronic Design and Family Site
My ATS-3B Multi-Band Portable CW Transceiver
The ATS-3B was designed, kitted, and sold by Steve Weber, KD1JV in the winter of 2010. This wonderful transceiver can fit in an Altoids tin, can push up to 5W at up to 95% efficiency from a 12V input, has 6 bands (selectable via plug-in modules), a 4 crystal superhet receiver with audio-derived AGC, and can operate from a 9V battery!
I purchased mine on a whim when I discovered all it could do in such a portable package. I'd long wanted a more portable rig than my Elecraft K2, and this looked promising in that role.
Other than assembling the kit, the only user involvement entails encasing it. Many people have chosen many different ways of enclosing theirs. Below is my version.
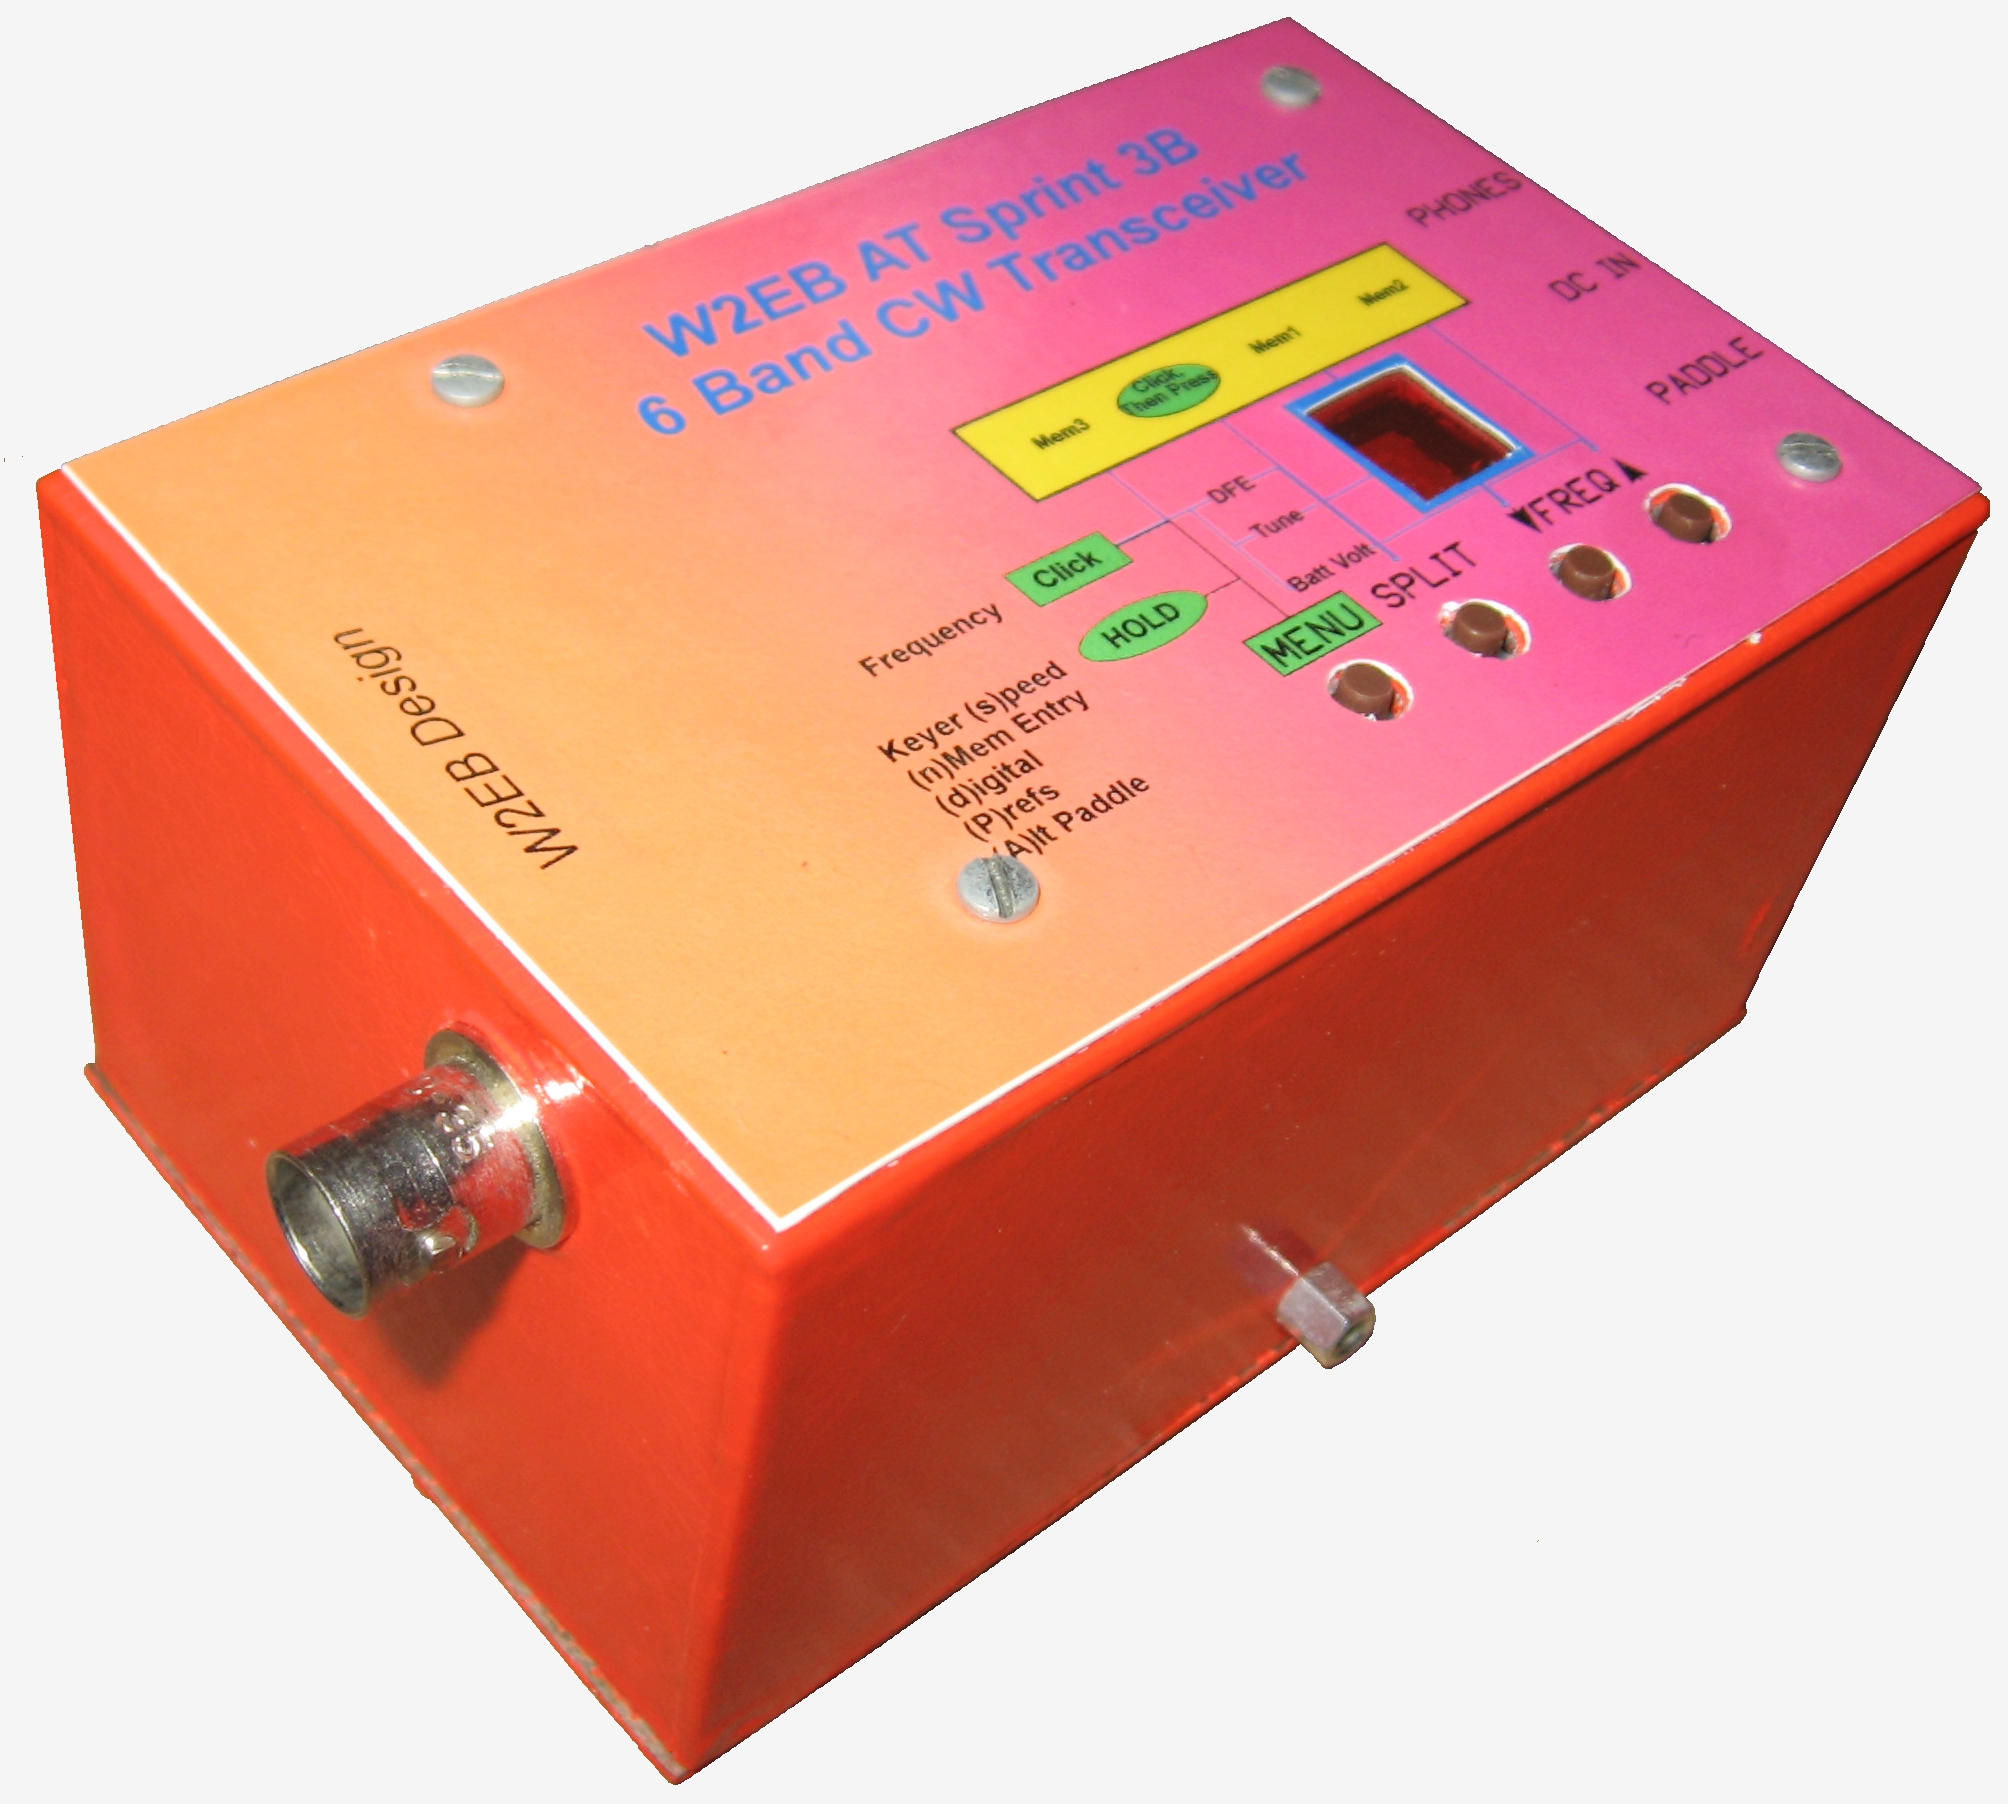
The first thing you see when you view my rig is the color. Since it's so very small, I didn't want it to get lost when packing up after an expedition or contest. Thus, I wanted the brightest, most obvious color I could find. A trip to the hardware store produced Day-Glo orange in a spray can. Thus, the base color was chosen. The faceplate art afforded me more flexibility; I can produce virtually every color or pattern imaginable. Thus, I added more Day-Glo colors to help ensure contrast in all situations.
I tried various layouts of metal chassis with limited success. In almost every case, the board would not insert into the chassis because of the protruding buttons...I simply couldn't bend the metal with enough accuracy to make it fit well and easily get the board in and out. Thus, I did the next best thing: I made three sides and the top of double-sided FR-4, inserted the board, and soldered the 4th side on with the board in place. That ensured a perfect fit!
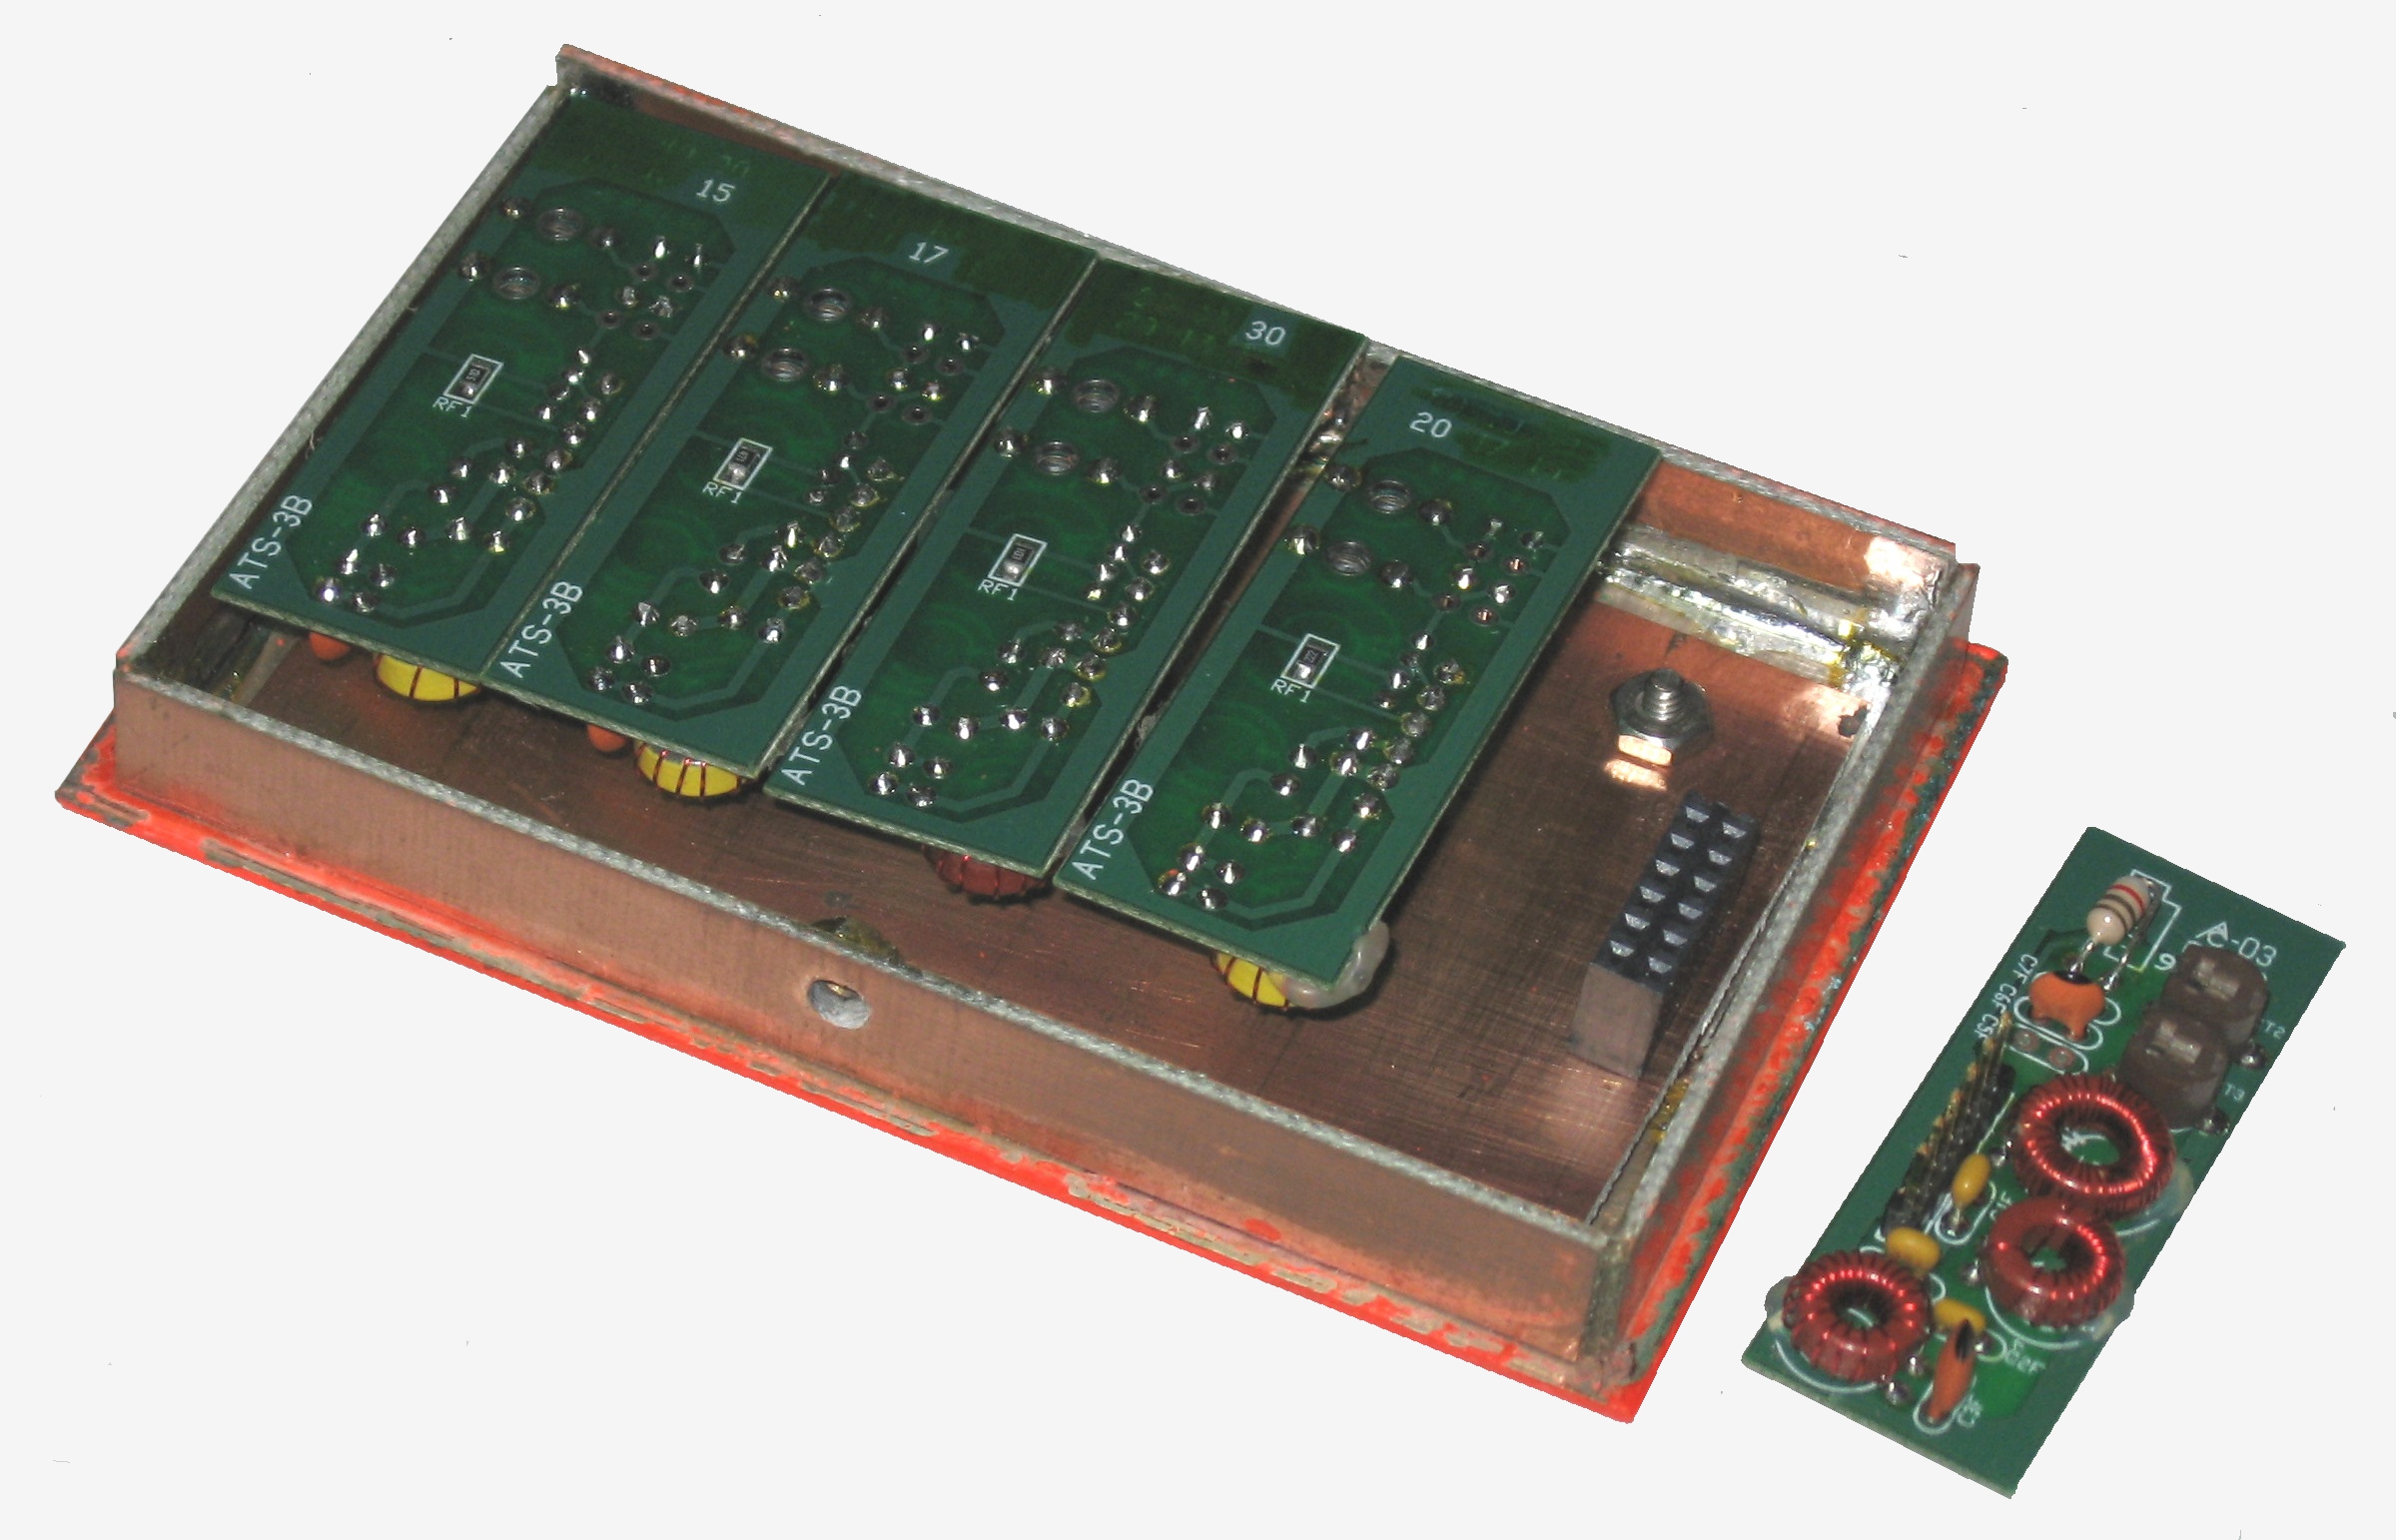
Since I was making a custom chassis, I decided to include the unused band modules in the same box. I made it taller than necessary to accommodate the modules, and made the bottom easily removable to access them. I then made a PCB with 5 sockets mounted on it to securely hold the unused modules in place and secured that to the bottom of the chassis.
A dimensioned drawing of the chassis is HERE.
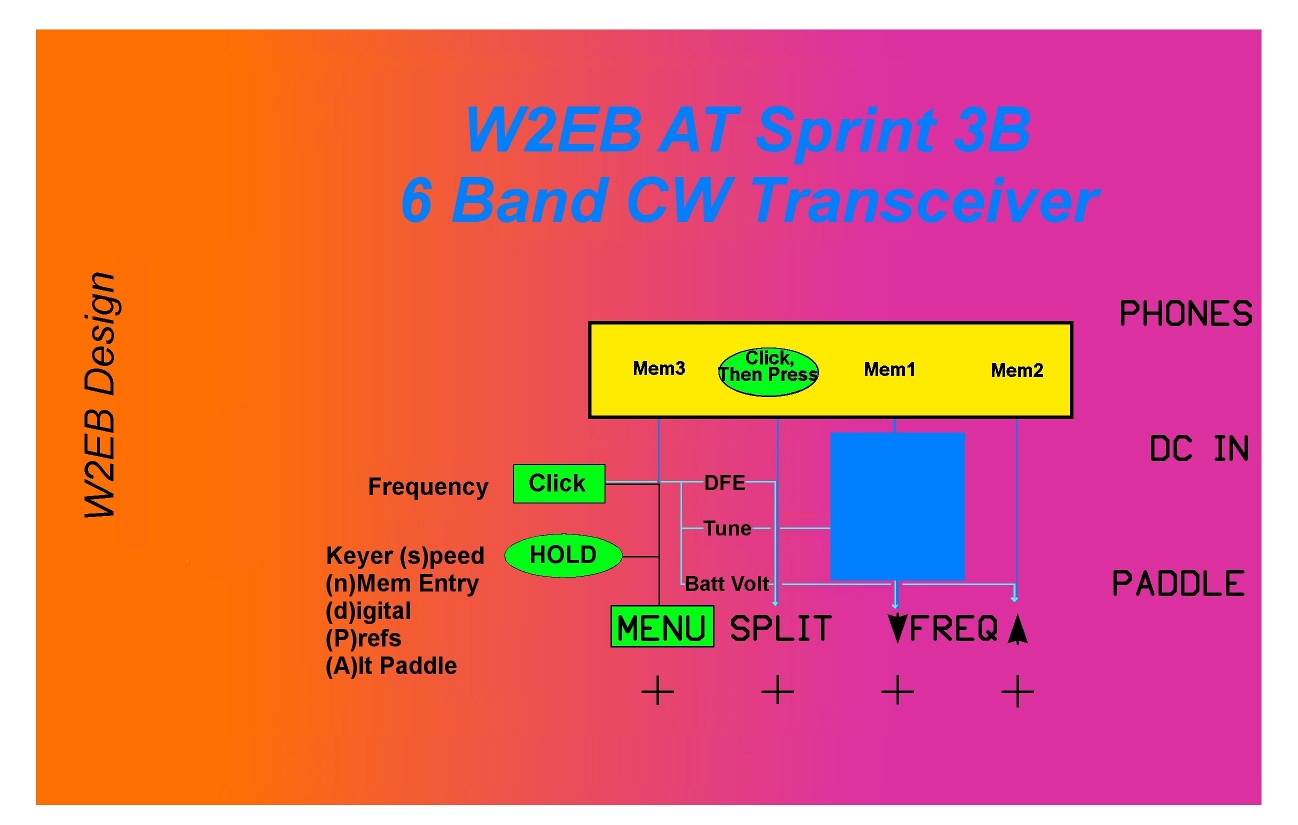
The Faceplate Artwork
Internal Assembly
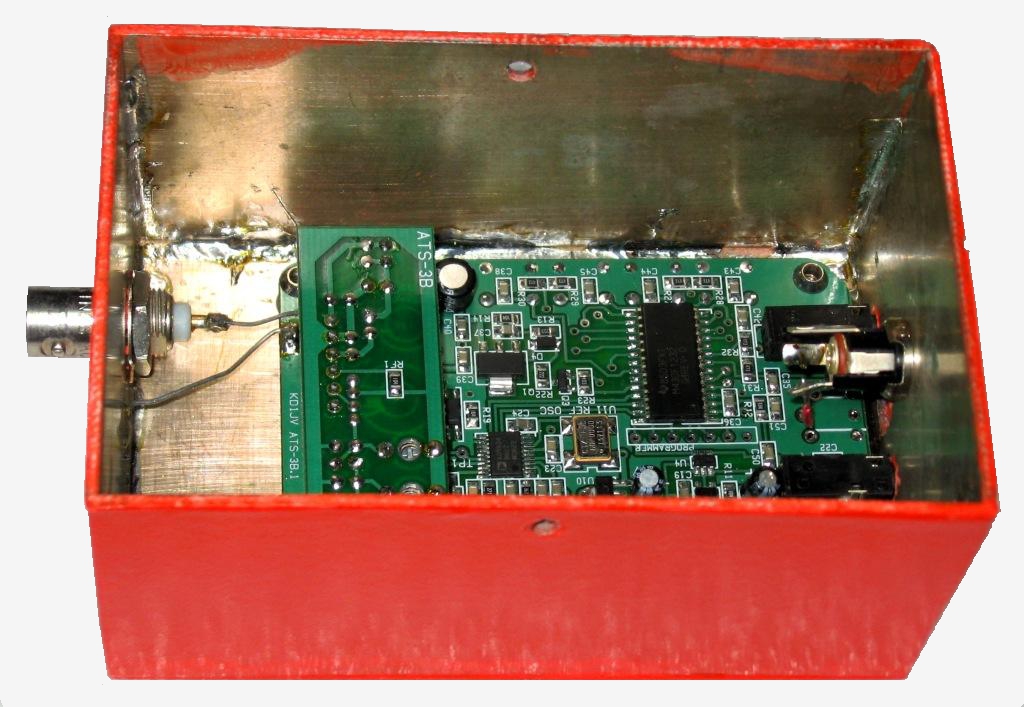
Above is shown the attachment of the ATS-3B PCB to its chassis. The chassis was designed overly-deep to provide room for the unused band modules. I replaced the original ATS-3B RCA jack with a BNC, and replaced the original power connector with a 5.5 x 2.5 coax power connector.
I silvered the interior of the box to reduce corrosion and improve conductivity to (hopefully) shield the receiver better for noise prevention.
Band Module Mounting